Showing posts with label Tutorial. Show all posts

Tuesday, June 2

Charm Pack baby quilt tutorial...

My sister-in-law, Carol, asked me to make a baby quilt for a baby shower gift.
 
 
(it was a bright sunny day when I photographed)
 
 
I decided to go very traditional and use some charm packs with lots of pink!


Here's what you'll need:
finished size - 42" x 49"
 
2 charm packs
1 1/4 yards solid
1/2 yard binding
1 1/2 yards backing
 
Cutting:
 
From the solid fabric:
   ~ Cut 5 - 8" squares then cut each of these TWICE diagonally to use for your side triangles.  (yields 20 - you will use 18)
   ~ Cut 2 - 4.5" squares then cut each of these ONCE diagonally to use for the corner triangles.
 
You will use 50 charms squares for the center of the quilt.
The remaining squares you will cut in half for your inner pieced border.
Inner border:  cut 4 - 2 1/2" strips
Outer border:  cut 6 - 2 1/2" strips
 
Sewing:  (you will be sewing diagonal rows)
 
Start with a side triangle and sew it to a charm square.  Add another side triangle to the other side of the charm square.  This is your first DIAGONAL row.
Continue in this manner adding or subtracting charms as you build your rows.  (see 2nd photo for placement)
Add a border of 2 1/2" solid strips to "float" your cute quilt.
Add a border of 2 1/2" cut charms - sew end to end.
Add an outer border of 2 1/2" solid strips.
 
You're finished!  And it's darling!


Sweet flannel backing.
(I love this old water pump & barrel)


Green Denyse Schmidt plaid for binding.


I machine quilted it with double bubbles - makes it look a little puffy!
 
 
Thank you, Danette - my neighbor, for letting me photograph this pink cuteness on your property.
 

Monday, December 22

a last minute gift idea tutorial...

These little fleece blankets are the easiest bunch of softness to make!
I purchased 1 1/2 yards of fleece.
 54" x 60". 
The perfect size for a little one to snuggle up with.

First - cut off all selvages.
 

I wanted to bind it so I made some bias binding out of 3/4 yards of contrasting fabric.
(it needs to be bias if you want to round the corners like I did)
Here's a link to my tutorial on how to fold/cut bias binding strips.
I used a small plate for my rounded corner pattern.
 
 
Just rotary cut around each corner.
 
 
Sew the binding on the wrong side of the fleece the first time.
 
 
Then flip it over and sew it down on the front.
You're finished!
 
 
This cute little blanket is for our 3 year-old granddaughter, Olivia.
She loves pink!
 
 
My tree is shushing me - Miss Olivia doesn't know it's coming in the mail to her for Christmas!  

 
It took me maybe one hour to complete this cute blanket.
Are you ready for Christmas?

Friday, July 19

barn/shed quilt

Barn quilt:  a single quilt block painted on a sheet of plywood hung on the outside of a structure.  (my definition)

I'm fascinated with these so I decided to make my own.
I don't have a barn to hang it on, but I have a shed. 
That will work!


I started by choosing my favorite quilt block - "Spin Cycle" by Allison Harris of Cluck Cluck Sew.  (Hi, Allison)
I needed to enlarge it so I just 3 x's the finished size of each piece.  It didn't exactly work with the large diamond shape so being the "challenged" math person that I am...I just kept trimming it down and forced it to fit!  It worked!
 
I grabbed a 3'x 3' piece of plywood...(you can use any size you want - I've seen them 8' x 8' hung on barns)


My husband was painting our kitchen a very light grey which was the same color I wanted my background for my barn quilt so I sweetly asked him, "hey sweetie - while you have the paint out, will you please brush some paint on my plywood?"  He wrote this message on the kitchen wall....just for me.  (GIANT red fluffy heart!)

 
Prime it first.

Uh huh - the husband painting grey on my plywood.....love :)

 
Next:  Draw your pattern pieces on paper, cut them out, tape them in to place on the wood and trace around them.  Label each area with the color you wanted to use.

 
Now the fun part....
 
Tape out your areas - I used newsprint to cover the outside areas because I'm going to use spray paint:

 
My favorite spray paint color and it's indoor/outdoor.  You should let it dry for at least a day before painting the next area - if you have the patience to wait!

 
After you have all the areas painted be sure to label your "quilt". 
I used a Sharpie permanent marker.

 
Here's the deal at our home....the husband has his hobby:
 
 
...and I have mine!


There she is...hanging on the side of my shed.
I love it!


Monday, September 10

Dots-On-Dots tutorial


Welcome to my Dots on Dots block/tutorial! 
Here's a fun little block with lots of possibilities.

First up, 
Gather all your dots!


You'll need (8) - 2.5" x 6.5" background pieces,


(4) - 2.5" x 6.5" foundation pieces, (I used muslin),
 

and about 28 - 1.5" x  3" prints for the "sticks".


Place a "stick", right side up, on a foundation rectangle along the short edge.  Add another stick, wrong side up, on top of the first one. 
 Stitch 1/4" from the edge of the 2nd stick, 
stitching through all layers. 


Keep adding sticks - pressing towards
the remaining rectangle foundation as you go.

 
You may want to tilt some of the sticks,
just be sure you are still stitching
through all the layers.


Continue adding "sticks" until the
foundation is covered with them!


Trim the unit using the foundation as your pattern.
It should measure 2.5" x 6.5".

So darn cute!!!


Make 4 of these cuties.


Add a background piece to each long side
of the candy stick units.


Sew these four units together,
any way you like, to make a square.
This should measure 12.5"


Quilt as desired and Voila!


 I turned mine into a pillow with, yes, 
a pom pom edge!
Pom Pom's for President!!


I quilted pebbles - AKA: DOTS, 
in the background with my long-arm machine 
(I love pebbles), 
and quilted in each seam on the candy sticks.
You can check out my other quilting designs 
on my "See My Work" page at the top.


Now wouldn't you like to make your own?? 
I've got a little pillow kit here for you.  
All the goodies to start you on a pillow top. 
Leave a comment and I'll choose a winner.
Following me wouldn't be a bad idea either! ;)


Be sure to visit these other blogs TODAY for more 
Dots on Dots blocks!

For a full schedule of all the blogs that are participating
over the next 2 weeks, go HERE.
 
The End......or The Back....  :)

Friday, July 20

How to Make Bias Binding Tutorial

  I get a lot of questions about how I make my bias binding.  
Couldn't be easier.  Let me walk you through it!

I'm working with a yard of fabric for a queen sized quilt. 
Cut off the selvedge.

Open your piece of fabric all the way up. 
We are working with a rectangle. 
  
Take the lower right hand corner and 
fold it on a diagonal so the left edges are even.  
 

Now pick up the lower left hand point 
and fold it over to the upper right.  

 Take point "A" and fold over to point "B". 

You may have a little flap of fabric. 
 Just keep wrapping it around. 


You're finished folding and ready to start cutting.  

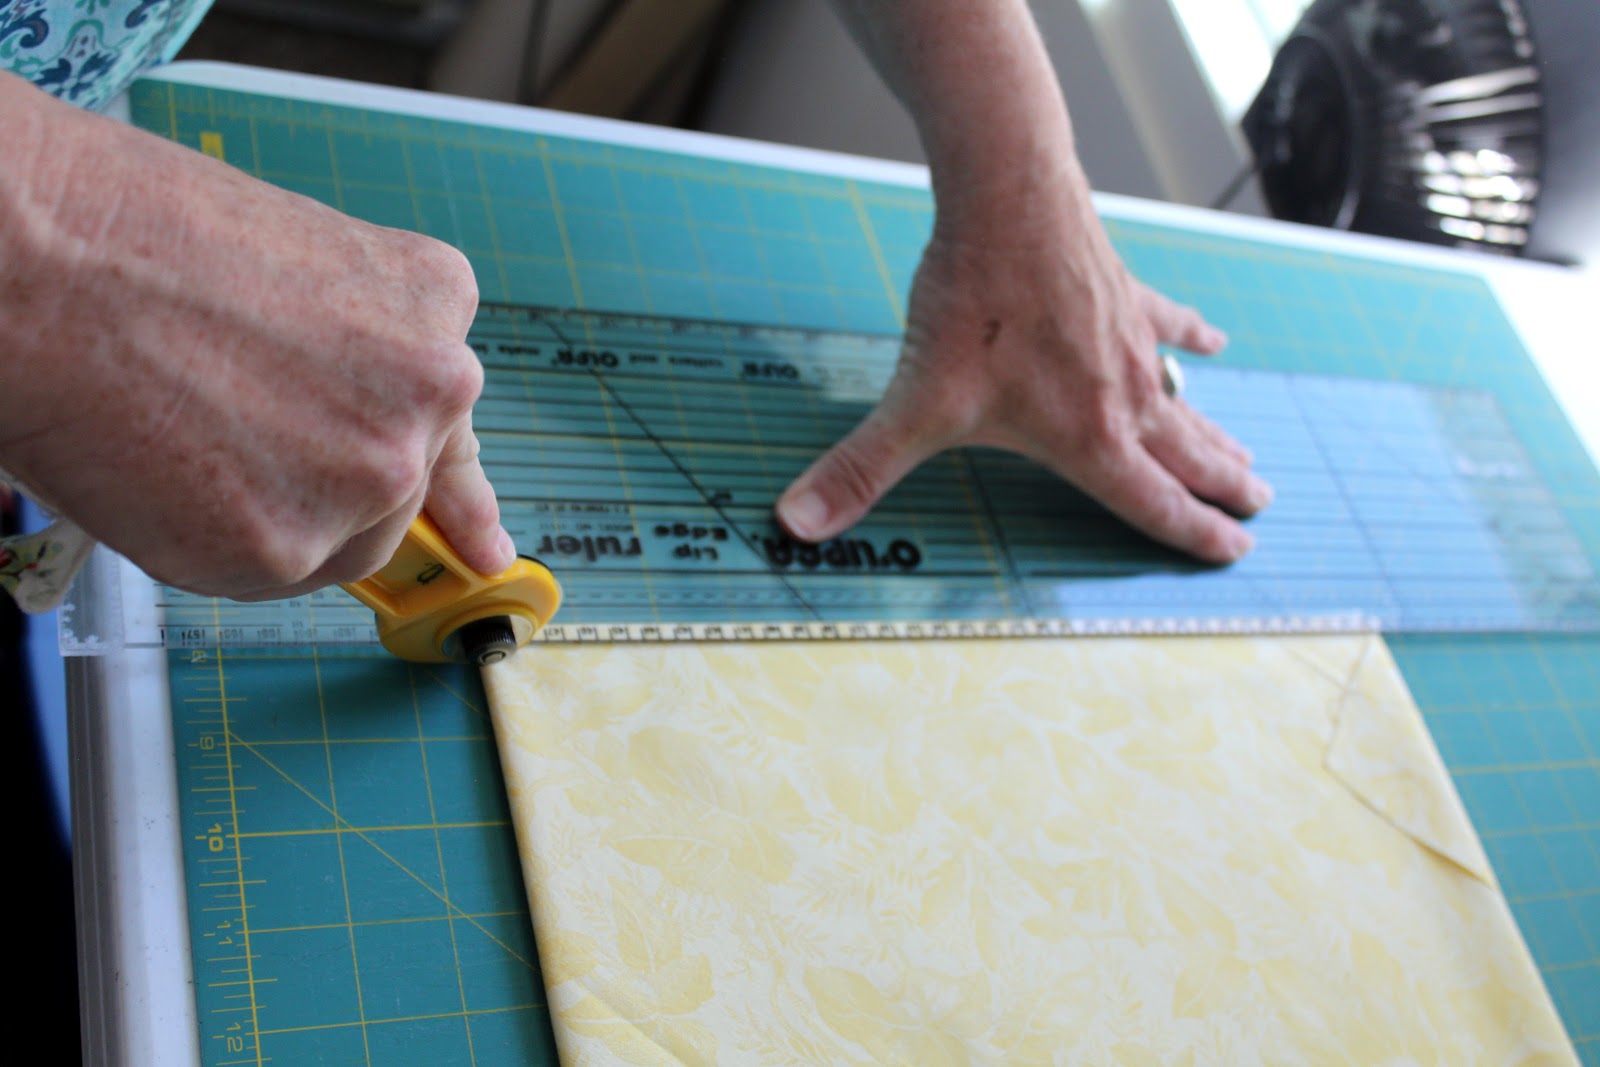
In reference to the AB folded edges, trim about 1/4" from the fold. 


This is the point that you will start to cut your desired width of strips.


The beautiful part of bias strip making is that
your strip ends are already cut at a 
diagonal ready to be sewn together.  

Anytime you sew diagonals, you have to have a 1/4" point hanging off both ends in order for your strips edges to have a straight finish. 
 

  Good Luck!!